FreeCAD is a 3D modeling software that gives creatives the opportunity to build their own models. It’s a fairly complicated piece of work to use, especially for beginners. However, there is a plethora of tutorials out there to follow and base yourself from. My experience was pretty rocky and not going to lie, this is my least favorite project. It very specific and time-consuming so you have to have a set of patience to accomplish this kind of work. But like all inventors, such work wouldn’t be good without some sweat or in this case, tears.
OBJECT 1
Since this was our first assignment, it was a journey completing it. As a beginner, I needed an extremely….EXTREMELY slow step-by-step guidance on how to do this. However, I must say this particular project requires use of majority of the software, so after this, you could pretty much make anything you wanted. Now there’s a billion ways to execute this, which didn’t help me plowing through this since I often got confused. There was a lot of WTF moments, I’ll tell you that. But in the end, I was able to finally finish it on the last day ofter my professor got back from the corona-virus that he did a last run-through and I was finally able to get it…..except it DIDN’T SAVE. I cried. It’s nothing new since I did scrap and redo a lot ton for this project that some steps were as easy as breathing….okay maybe not BUT I did do it and in a much smaller timeframe to which I gave myself a pat on the back. 🙂
OBJECT 2
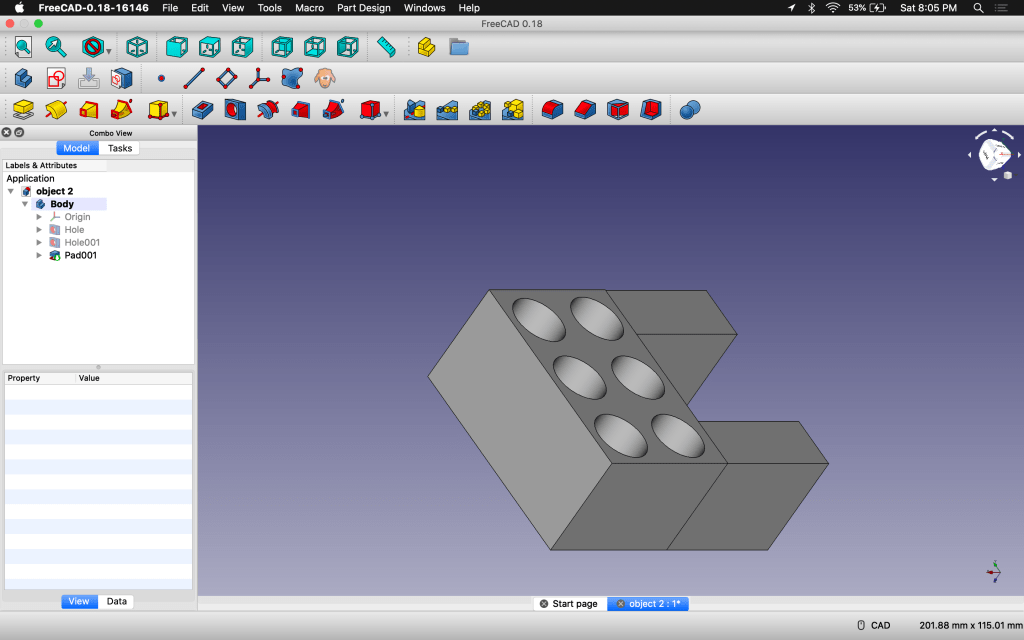
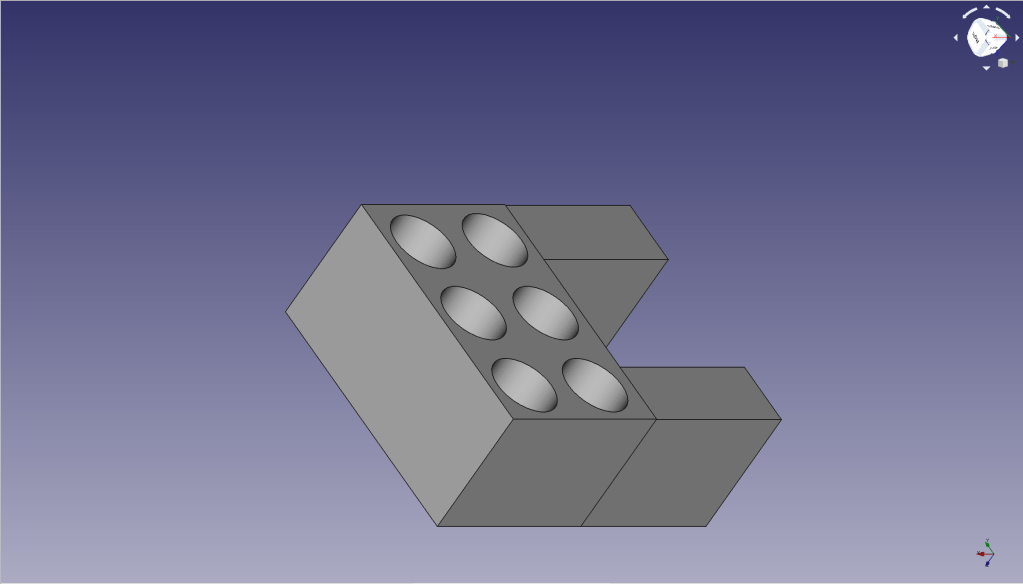
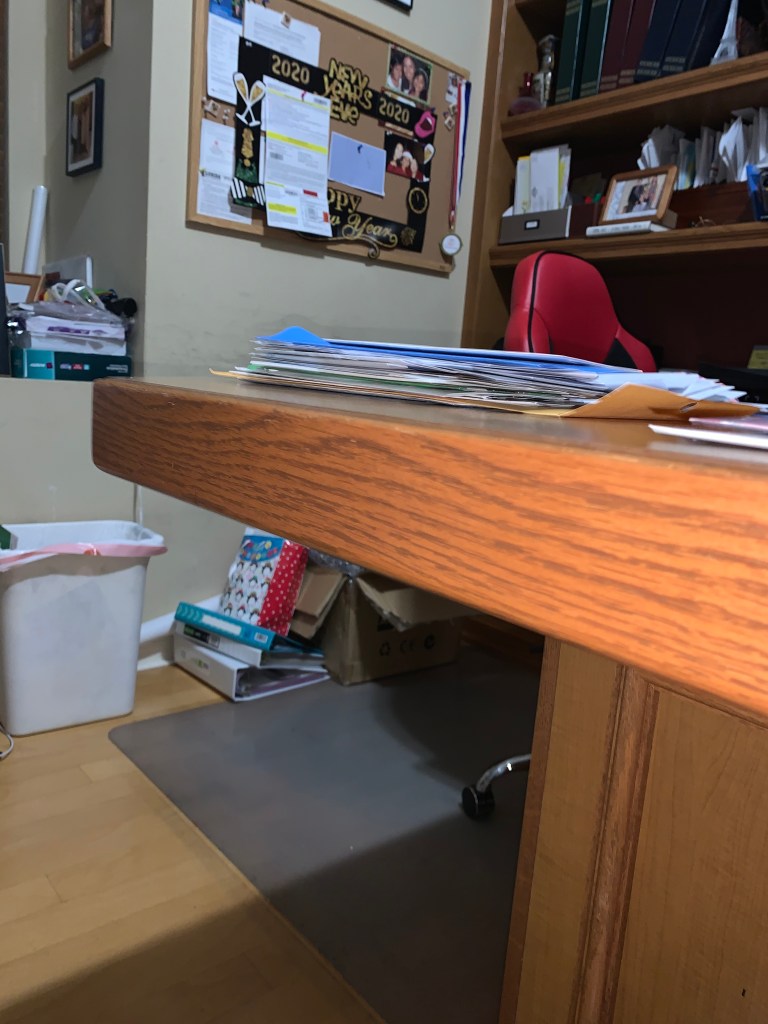
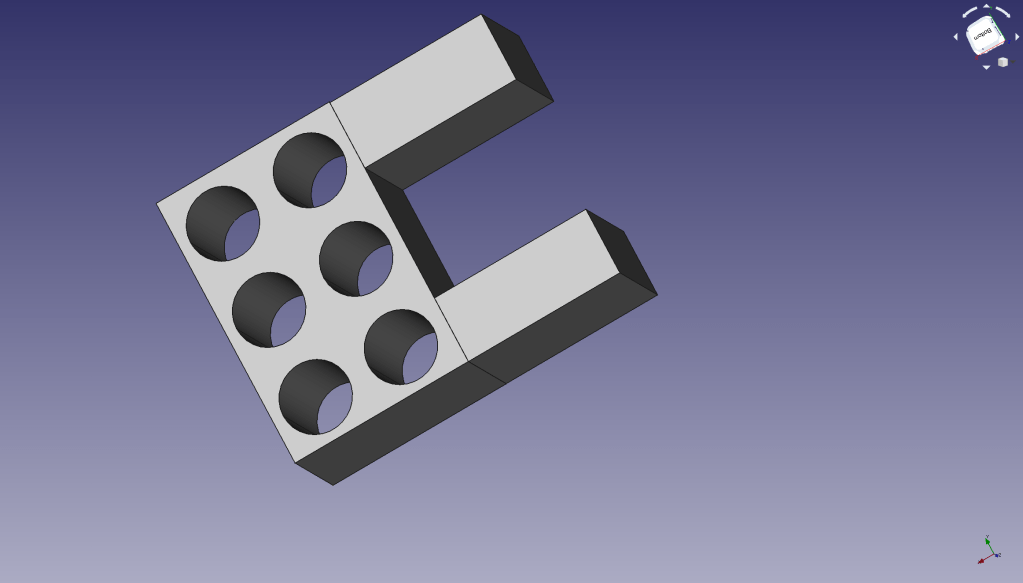
Now the assignment details for Object 2 were to create an object that can keep at least one cord on the edge of your desk, without it falling off. Now the desk I wanted to work on was at home. The measurements, however, were eyeballed to about 3 3/4 inches long. So I made the space to insert the desk in 100 mm which is about almost 4 inches where it is slightly bigger than the desk and the legs that would hug the desk were long enough to keep it stable, but short enough to not take up too much desk space. I put 6 holes of 70 mm in diameter that I thought was big enough to fit chords that were at least less than 2 inches in diameter. Overall, this took a day to complete (after about 12 redoes), BUT since I worked on this after my Object 1 fiasco, the whole process felt a lot more natural.
OBJECT 3


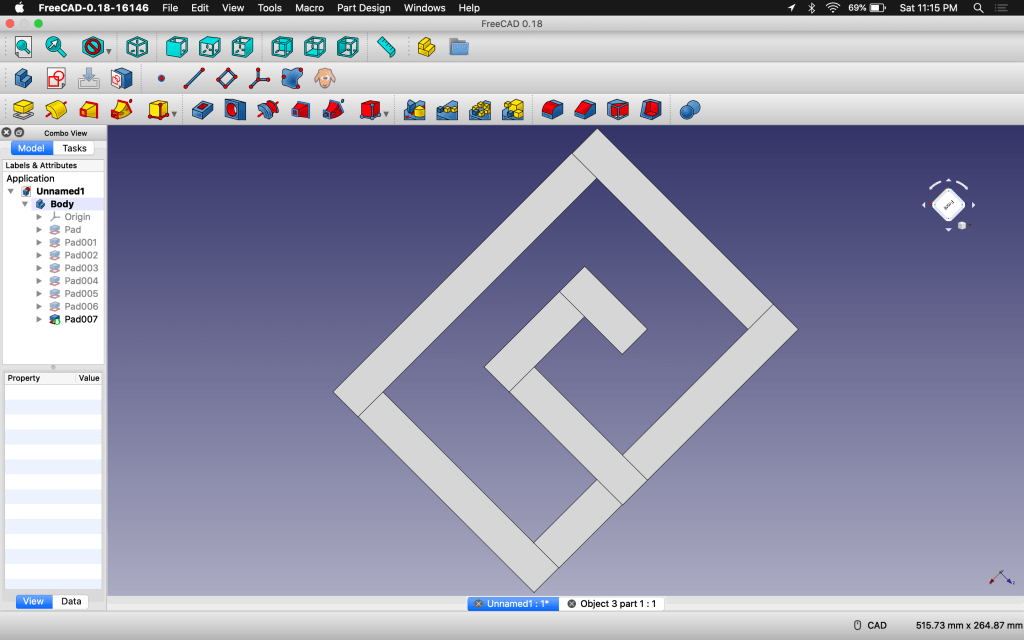
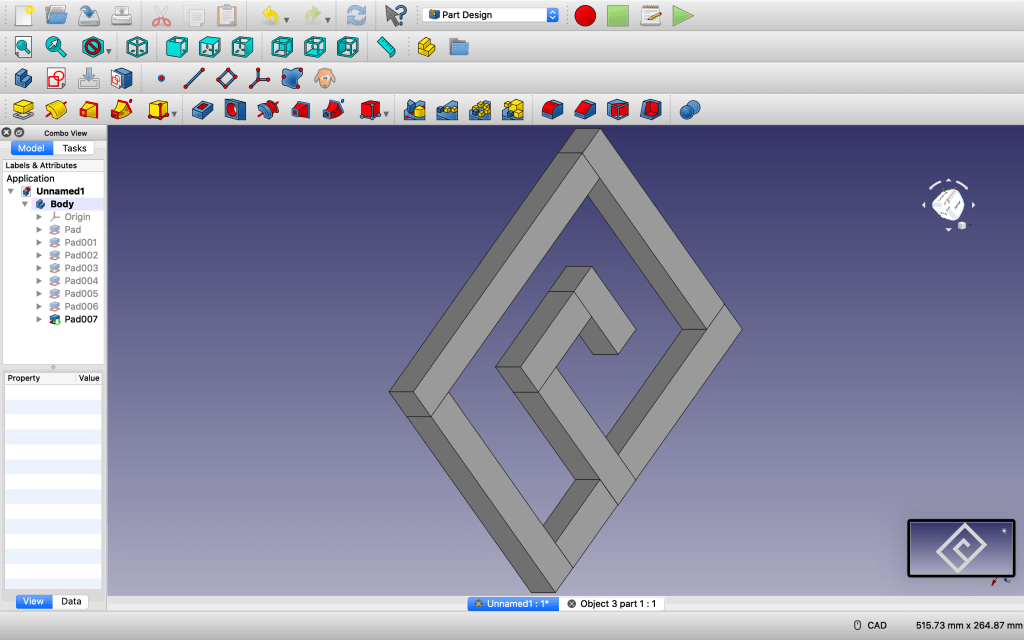
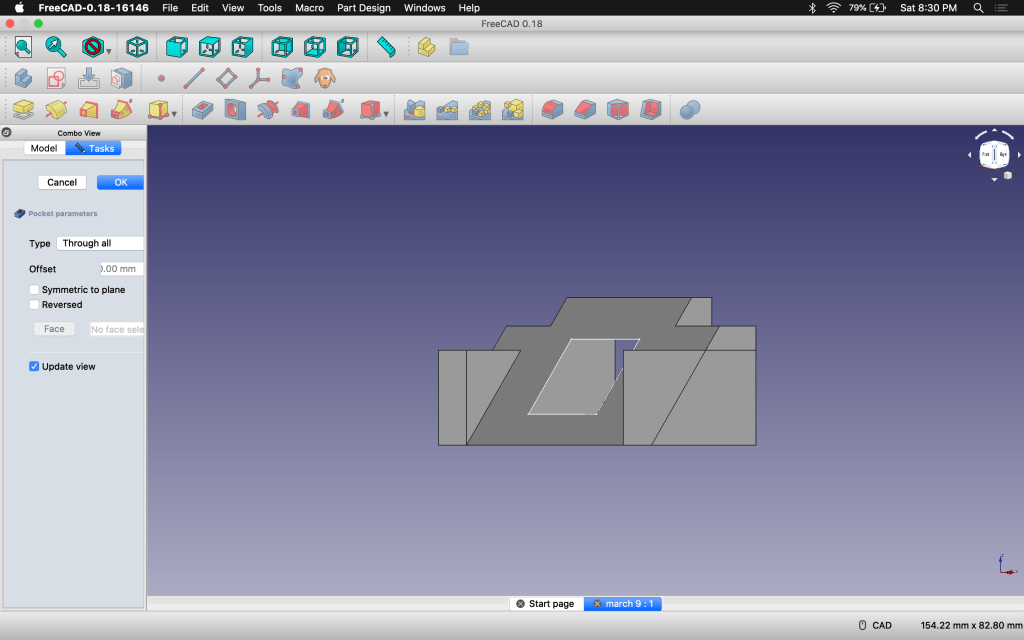
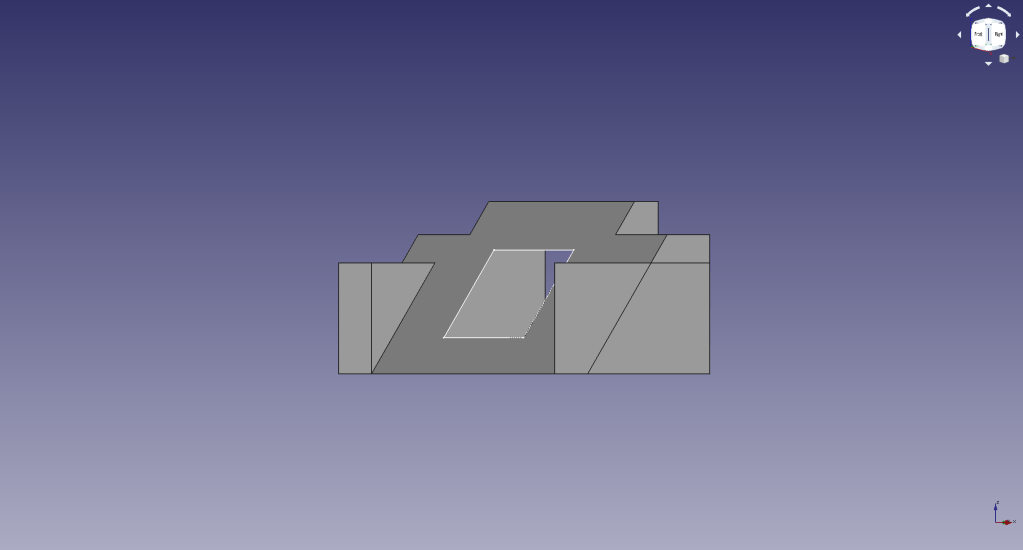
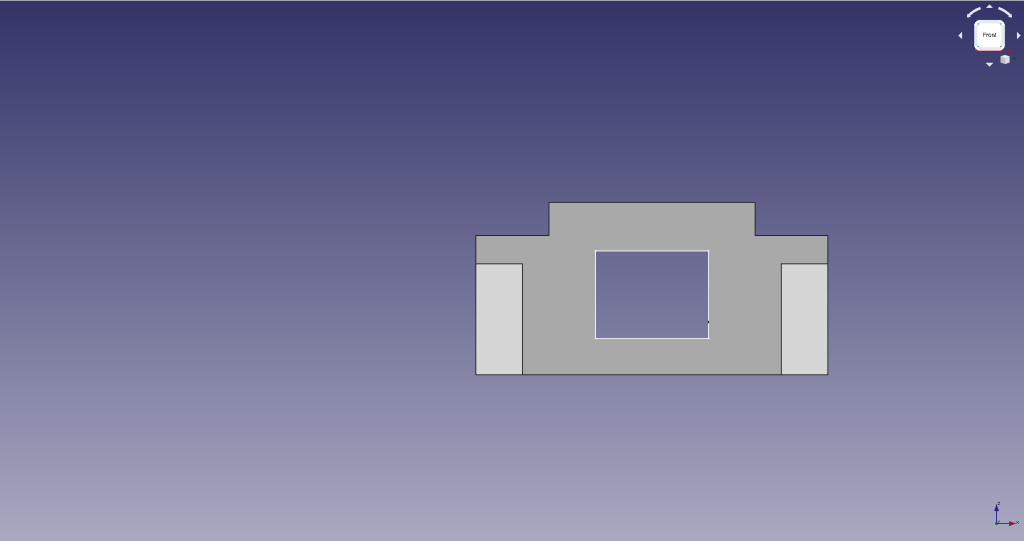
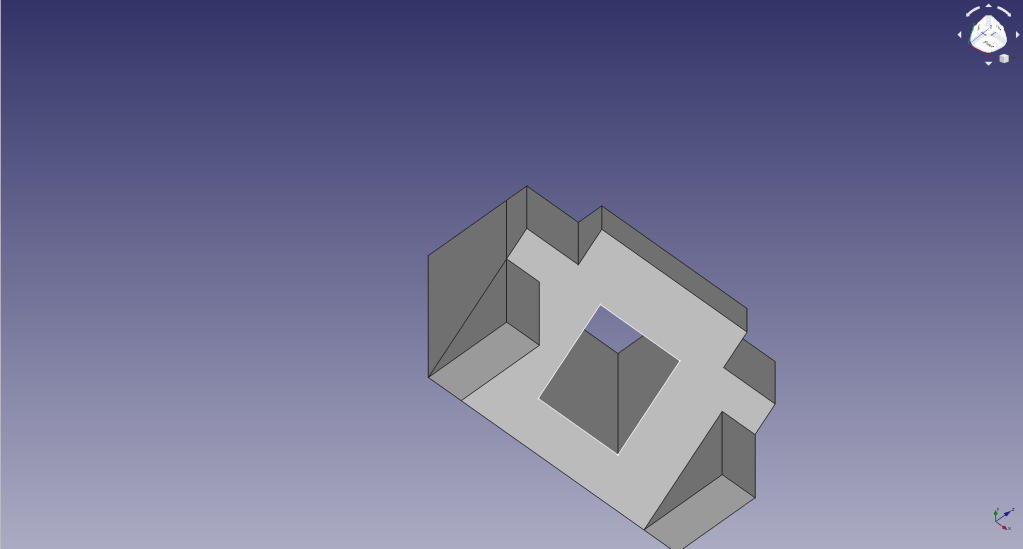
Object 3 was most complicated to think about. The first thing I thought of was a maze. And then how to hold things in specific spaces, to enclose them tightly so that they wouldn’t move. The first part is simple. A square with a hole. The hole is specifically 10 mm. It’s the object that is supposed to be inserted onto the second one. This second part is an enclosed rectangle with a hook. The hook size fits the same exact measurements of 10 mm. The entry way is 15 mm so that is would make for an easy insert. The side opposite from the hook is about 20 mm again for an easier slide. The side that’s on top of the hook is 10 mm so to keep the square in once its on the other side. The enclosed edges however keep the square in once the hook is completely through. I can’t guarantee that it wouldn’t fall off, since I intentionally made it loose in some aspects but, I thought I’d made the risk so that I could ensure the square would make it through the hook.
